


First off, I wanted to say a HUGE thank you to Sarah Jane Studios for featuring Emma’s Bedroom over the weekend! I have admired Sarah Jane’s work for a while and I was completely giddy to be featured on her blog. I have been getting a few requests for a tutorial for the framed pictures over Emma’s polka dot couch.

For these nine pictures I bought 9 cheap frames, spray painted all of them Rustoleum’s antique white, then covered five of them with fabric. Here is how I did the covering…
Supplies:
- Frame
- Fabric
- Tacky Glue
- Paint Brush
- Pencil
- Scissors
- Ribbon (optional)

I found these frames for less than $2 at the BX when we lived in England. They are made of plastic, but I loved the shape and knew I could turn them into something fabulous.
Here are the steps to creating your own…
First, place your fabric on the table with the wrong side up. Then place your frame face down on top of the fabric. Cut your fabric with enough extra to wrap around each side.

Next, use your pencil to trace around the outside edge and the picture opening.

Cut out the four corners and cut an “X” in the center.

Now you are ready to apply the glue. Place your frame face down on the fabric and use a paintbrush to apply glue to one side of the frame.

Press fabric onto glue, making it smooth.

Snip the corners to prevent added bulk.

Brush on more glue to the inside of the frame.

Press fabric down around inside of frame (or just onto the back side if you have a traditional frame).

Repeat this process with all four sides then move onto the picture opening. Cover the inner fabric with glue using your paint brush.

Then press your fabric around the inside edges.

*Note- I experimented with a few different ways of covering these frames and I prefer to apply glue only to the edges and not to the front of the frame. I found that if I applied glue to the frame front, then the fabric had a greater tendency to pucker.
By only gluing the edges, the front of the frame stays looking nice and neat.

Here is a close up of the picture opening. As you can see, the fabric does not cover the entire frame. If this is bothersome (as it certainly is with this black frame) then you can cover that inside part with ribbon.

When I framed the calendar girls for Emma’s room, I had spray painted the frames white and you could hardly notice the exposed frame, so I left it as is.

For this black frame, I simply brushed on some more glue and applied some white twill tape (or ribbon) on the inside edge.


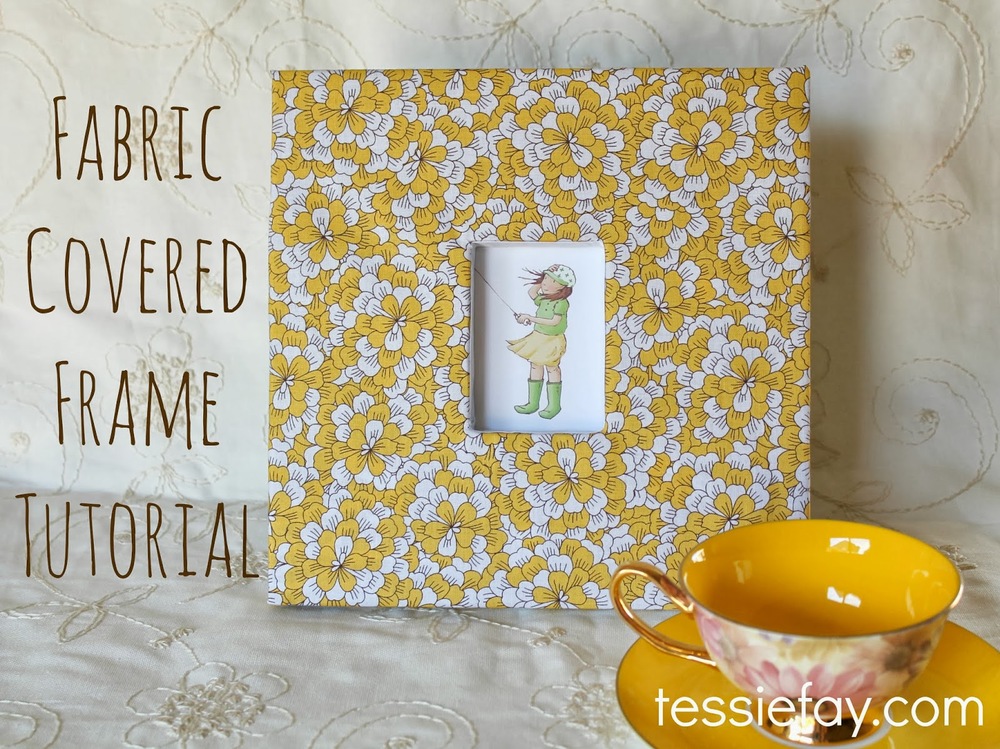
Place your picture inside and voila! A fabric covered frame!


view + leave comments . . .